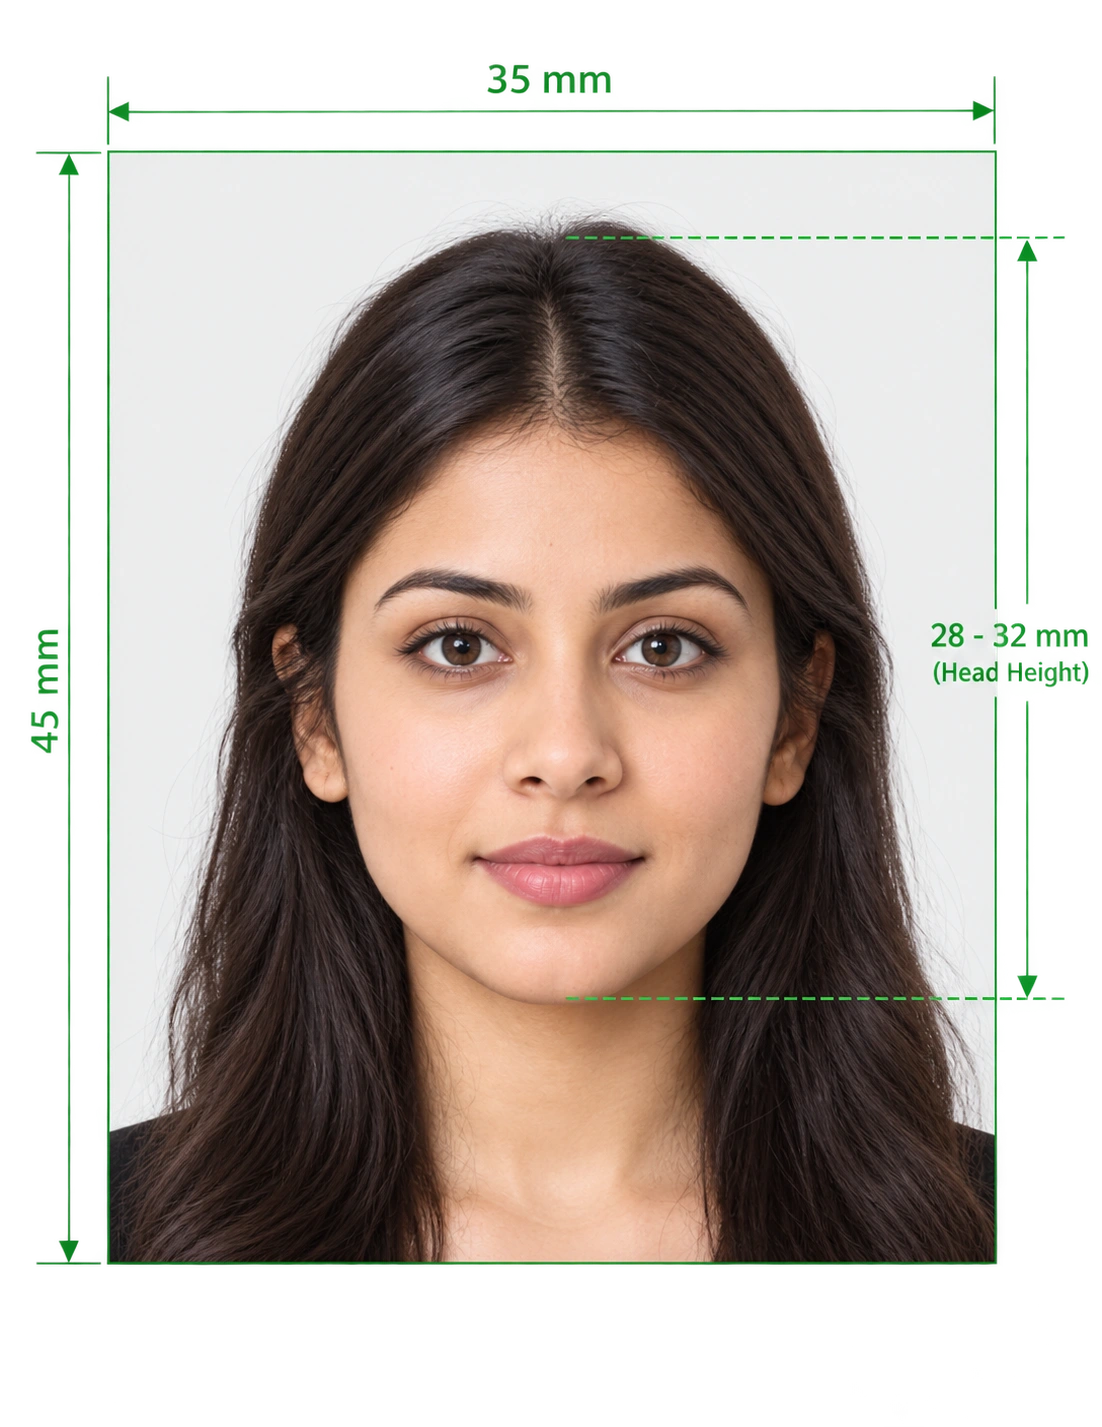
You can take a passport photo at home with nothing more than a smartphone, a plain wall, and a window. Our tool handles the technical work. It removes the background, crops your photo to the right size, and checks the result against official rules before you download it. This guide shows you how to shoot a photo that passes on the first try, and how to avoid the mistakes that cause rejections.
Can You Take a Passport Photo at Home?
Yes. Most passport and visa authorities accept photos you take yourself, as long as the photo meets their size, background, and quality rules. You do not need a studio, and you do not need a professional camera. A modern phone camera produces enough detail for a compliant print or digital upload.
The real challenge is not the camera. It is the small details: head size, even lighting, a plain background, and a neutral expression. The tool takes care of the measuring, so you can focus on a good shot.
How to Create a Passport Photo at Home in 3 Steps
The whole process takes about a minute once you have a clear photo.
- Pick Your Document: Choose your country and document type. The tool loads the correct size, background color, and head proportions.
- Upload or Click a Photo: Take a new photo with your phone or upload one from your gallery. JPEG, PNG, and HEIC files all work.
- Review and Download: The tool replaces the background, aligns your face, and flags any problems. Check the preview, then download your finished photo.
What You Need to Make Passport Photos at Home
You already own almost everything you need. Gather these items before you start.
Equipment
- A smartphone or camera: Use the rear camera when possible. It gives a sharper image than the selfie camera.
- A tripod or a helper: A steady camera at eye level keeps your face proportions accurate. A friend can also press the shutter.
- A plain wall or sheet: A light, single-color surface gives the background removal a clean edge.
Space and Lighting
- Stand about 1.5 metres from the camera.
- Face a window so soft daylight lights your whole face.
- Avoid direct sun, lamps behind you, and overhead lights that cast shadows under your eyes.
Passport Photo Requirements by Country
Every country builds its rules on the international ICAO biometric standard, then adds local details. The table below shows common examples. Always confirm the latest rules with the issuing authority.
| Country | Photo Size | Background |
|---|---|---|
| United States | 2 x 2 in (51 x 51 mm) | Plain white or off-white |
| United Kingdom | 35 x 45 mm | Plain cream or light grey |
| India | 35 x 45 mm | Plain white |
| Schengen Area | 35 x 45 mm | Light, neutral color |
| Canada | 50 x 70 mm | Plain white or light |
You do not need to memorize these numbers. Select your country in the tool, and it applies the right profile for you.
Step-by-Step Guide to Click a Perfect Passport Photo
1. Set Up Your Background
Hang a plain sheet or stand in front of a bare wall. Keep at least one metre between you and the wall to reduce shadows.
2. Position the Camera
Place the camera at eye level and keep it straight. Shooting from above or below distorts your face and can cause a rejection.
3. Pose Correctly
Look straight at the lens. Keep your head upright, your mouth closed, and both eyes open. Relax your shoulders so they sit level.
4. Check the Result Before You Upload
Zoom in on the image. Look for blur, shadows across your face, red eyes, and stray hair over your eyes. Retake the photo if you spot any of these.
Common Passport Photo Mistakes and How to Fix Them
| Mistake | Why It Gets Rejected | Quick Fix |
|---|---|---|
| Shadows on face or wall | Uneven lighting hides facial features | Face a window and move away from the wall |
| Glasses glare | Reflections cover the eyes | Take your glasses off |
| Smiling or raised eyebrows | The expression is not neutral | Relax your face and close your mouth |
| Blurry image | Facial details are unreadable | Use a tripod and clean the lens |
| Head tilted or turned | Facial recognition cannot match it | Face the camera squarely |
| Filters or heavy editing | The photo no longer looks like you | Upload the original, unfiltered photo |
Home Passport Photos vs Studio Photos
| Factor | At Home With Our Tool | Photo Studio |
|---|---|---|
| Time | A few minutes | Travel plus waiting time |
| Cost | Free preview, small fee to download | Usually higher |
| Retakes | Unlimited and instant | Often limited |
| Country rules | Loaded automatically | Depends on the photographer |
| Convenience | Any time, from your phone | Opening hours apply |
Tips to Pass Review on the First Attempt
- Wear clothing that contrasts with your background. Avoid white shirts on a white wall.
- Pull your hair back from your eyes and the outline of your face.
- Remove hats, headphones, and heavy jewelry unless you wear a religious head covering. Your face must stay fully visible.
- Take several shots and pick the sharpest one.
- Check whether your application needs a printed photo or a digital file, then select the matching output.
Official Government References
Verify current photo specifications directly with official portals:
Frequently Asked Questions
Avoid Passport & Visa Photo Rejections
Our automatic AI tool fixes background shadows, crops to exact millimeter specs (2x2" or 35x45mm), and guarantees 100% biometric compliance.
Create & Fix My Photo Now